Make your own Lipgloss
Posted on

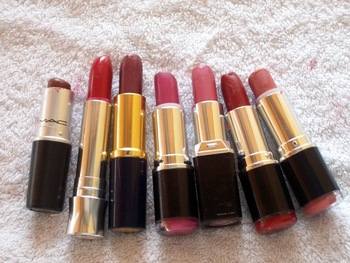
I don't normally blog about make up, but as you know I do like to blog about making things, so I thought I'd include this fun and easy to do project. I prefer to lipglosses to lipsticks, but I've been tempted occassionally to buying lipsticks that I thought looked great in the store, but then don't quite look the same, once I got them home.
I think the lighting in department stores are awful. The amout of times over the years, I have spent £12 on a lipstick, only to get it home, try it on and then thought, it looked much better in the store. Instead of just leaving those lipsticks to gather dust, I thought I'd turn them into lipglosses.
My first lipstick to lipgloss transformation, is a lipstick from Mac which I bough last winter, I think I wore it several times, I did not like how it looked on me, then just forgot about it.
All you need to make your own lipgloss is the following:
Lipstick of choice
Petroleum Jelly (Vasaline)
Knife
Small round container
Microwave

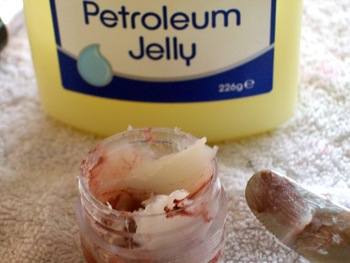
Get your small container, mine is a free sample container I got from the Mac counter. Cut off a piece of the lipstick and then add a tablespoon of the Vasaline. Add these to the small container and pop it into the microwave for about 30 seconds.
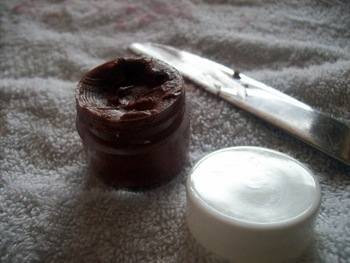
Remove and stir till both lipstick and Vasaline have been mixed to a smooth consistency. If you want your lipstick to have a stronger colour, add some more of the lipstick, if you want it to have a hint of colour, add some more Vasaline.

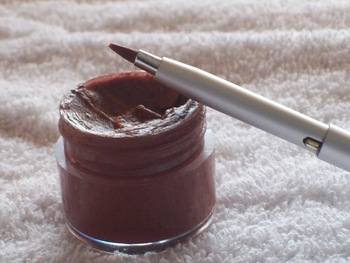
Pop the container into the fridge overnight, and then the next morning, you will have your very own homemade moisterising lipgloss. I've got a few more lipsticks to convert into lipglosses, which I'll be doing in the next few days, I'll have my own little stash ready for the summer.
I find wearing lipsticks a bit heavy to wear when the weather is warm, so lipglosses are a welcome alternative.

Feel free to share this tutorial with your friends.

